Do you want to build strength in your lower body, improve your posture, and sculpt bigger glutes? Then the glute bridge is an exercise you simply can’t skip. This seemingly simple movement is the foundation for strong glutes, a well-functioning core, and injury-free hips. In this blog, you’ll discover what the glute bridge is, which muscles it targets, how to perform it correctly, the variations you can try, and why this exercise is a must-do at ProFit Gym.
What are glute bridges?
The glute bridge is an exercise where you lie on the floor with your knees bent and lift your hips by engaging your glutes. The movement may look simple, but it’s highly effective when done properly. You can perform it using just your body weight, or add a barbell or resistance band for an extra challenge.
The glute bridge is often used in warm-ups, rehabilitation programmes, and strength training because it’s versatile, safe, and effective. It’s also an excellent preparation for heavier lifts such as the hip thrust or Romanian deadlift.
What does the glute bridge train?
The main focus of the glute bridge is the gluteus maximus, the largest of the glute muscles. By consciously activating this muscle, you not only train for strength and shape but also improve the function of your entire hip area.
You’ll also engage the following muscle groups:
- Hamstrings: assist in the upward movement.
- Core (abs and lower back): helps with stability and control.
- Hip flexors: are lengthened during the exercise, which supports mobility.
- Lower back: stabilises the spine throughout the movement.
A properly performed glute bridge doesn’t just enhance the shape of your glutes, it also improves your posture and boosts your performance in other exercises such as squats, lunges, and deadlifts.
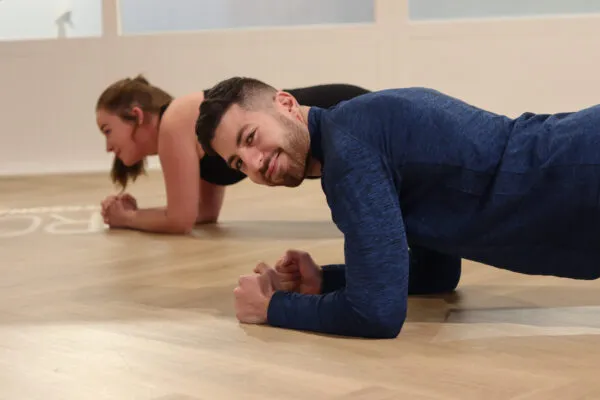
How to perform a glute bridge
A correct execution is key to getting the most out of the exercise. Follow these steps:
- Lie on your back with your knees bent and feet flat on the floor, hip-width apart.
- Place your arms beside your body with your palms facing down.
- Engage your core and slightly tilt your pelvis backwards.
- Lift your hips by firmly squeezing your glutes.
- Hold at the top briefly, then lower your hips in a controlled manner.
Pay attention to the following:
- Push through your heels, not your toes.
- Don’t let your ribs stick out; keep your core tight.
- Move at a steady pace; avoid jerky movements.
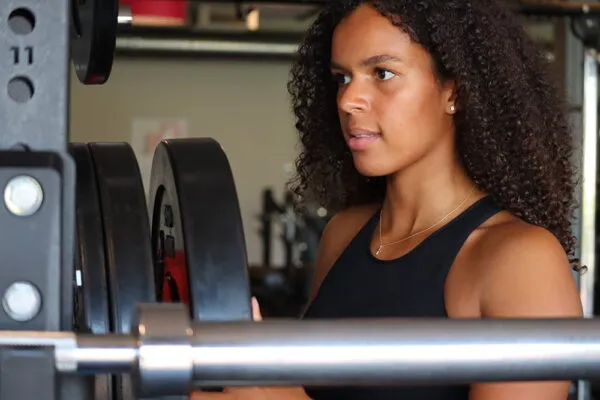
Different variations of the glute bridge
To keep your training effective and continuously challenge your muscles, you can vary your glute bridge routine:
1.Bodyweight glute bridge
Perfect for beginners or as a warm-up. Focus on technique and muscle activation.
2. Barbell glute bridge
A heavier version using extra weight, ideal for building strength and muscle growth.
3. Banded glute bridge
Add a mini band around your knees to place extra emphasis on your glutes and hip stability.
4. Single-leg glute bridge
Train one side at a time, this increases the challenge for your core and stability.
5. Feet-elevated glute bridge
Place your feet on an elevated surface such as a bench or weight plate. This increases the range of motion and muscle activation.
By switching between variations regularly, you prevent your muscles from adapting to the same stimulus, allowing you to keep making progress.
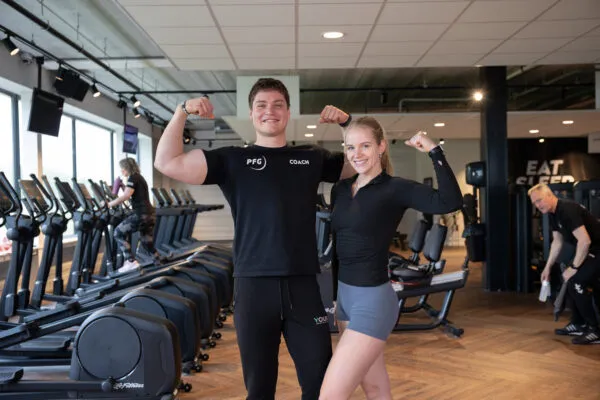
All-in fitness at ProFit Gym
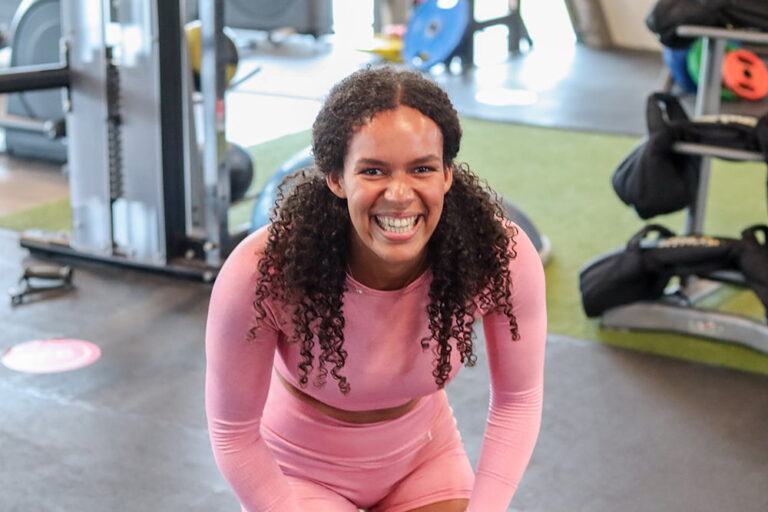
At ProFit Gym, we’re here to help you perform exercises like the glute bridge correctly and effectively. Whether you’re training for strength, aesthetics, or recovery, our trainers guide you every step of the way. With modern equipment, functional training zones, and a stable core personalised support, you’ll get the most out of every workout.
Glute bridges combine perfectly with other lower-body exercises such as the hip thrust, leg press, or Bulgarian split squat. Want to learn how to incorporate these exercises smartly into your training plan? Visit ProFit Gym, and together we’ll create a plan that fits your goals.